GeoGebra Basic Construction 6 – Constructing a Parallelogram
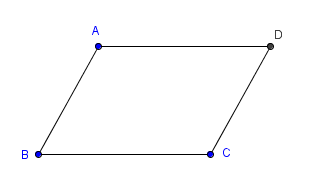
In this tutorial, we use the Parallel Line tool of GeoGebra to construct a parallelogram. To construct the parallelogram, we first construct points A, B and C. Then, we use the Parallel Line tool to construct a line parallel to AB and passing through point C, then construct another line parallel to BC and passing through point A. We use the intersection of the two lines to determine the fourth vertex of our parallelogram.

Figure 1
If you want to follow this tutorial step-by-step, click here to open the GeoGebra window in your browser.
| Open GeoGebra and select Geometry from the Perspectives menu on the Sidebar. | |
| To show labels of new points and not the other objects, click the Options menu, click Labeling, then click New Points Only. | |
|
|
Select the New Point tool, and click three different locations on the Graphics view to create points A, B and C. |
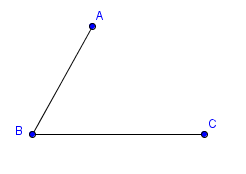
Select the Segment between Two Points tool, select point A and select point B to construct segment AB. Now, construct segment BC. Your drawing should look like the one shown in Figure 2.
 Figure 2 |
|
| Now, we construct two lines: a line parallel to AB passing through point C and a line parallel to BC and passing though point A. To construct a line passing through point C and parallel to AB, select the Parallel Line tool, select segment AB and then click point C. Now, construct the second line. | |
| Move the objects in your construction. What do you observe? Investigate. | |
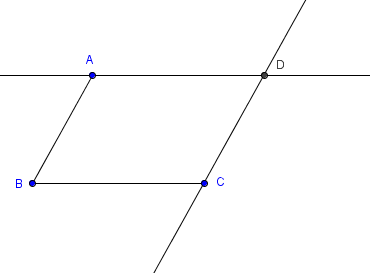
Next, we intersect the two lines. Select the Intersect Two Objects tool, and then click the two lines. Notice that point D appears on the intersection of the two lines. Your drawing should look like the one shown in Figure 3.
 Figure 3
|
|
| Next, we hide the two lines. To hide line AD, right click the line and select Show Object to uncheck it from the context menu. Next, hide the other line. | |
|
|
Now, use the Segment between Two Points tool to connect points A and D. Connect point C and D. |
|
|
Move the points in your figure. What do you observe? |